Adding a straight line of text in an iBook is pretty straightforward, but what if you want to add some flair to your book with text that follows a curved line? That’s when a little SVG and Adobe Illustrator knowledge goes a long way. By letting Illustrator generate the SVG code, you’ll save the time of calculating the curve and text placement on your own.
Step 1: Create the Curve in Illustrator
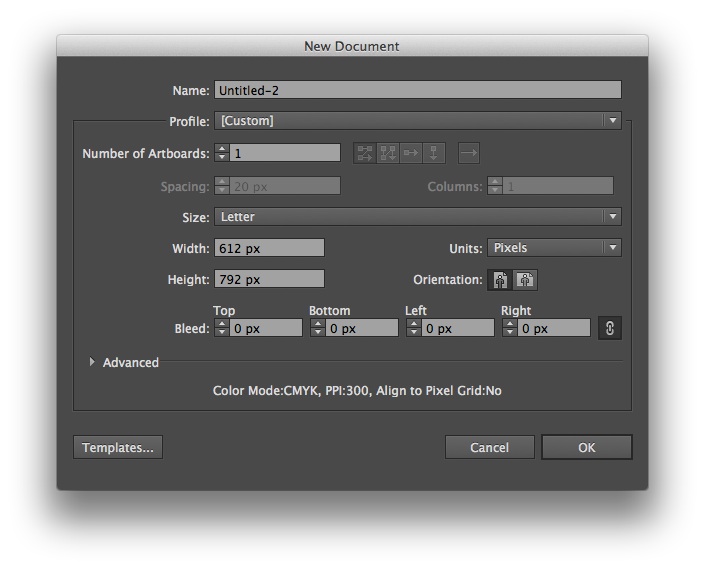
Start by launching Adobe Illustrator. Click File > New to create a new file. Make sure the width and height of your Illustrator file is the same width and height as your viewport in your XHTML file. In this example we’ll use the dimensions 612px by 792px:

Click on the Pen Tool in the Tools Palette. Click on the art board window to make an anchor point and click another location across the screen to make a second anchor point.

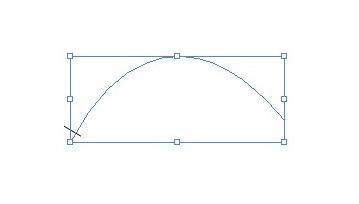
Click and hold the Pen Tool to reveal the additional tools, and select Convert Anchor Point. Click and drag one of the anchor points to make a curve.

Click the Type Tool and hover over the beginning of the curvy line until the cursor shows a wavy line.

Click the art board and the cursor will be positioned on the curvy line. Type “Check out my awesome curvy line!!” (or something equally cool).

Step 2: Setting the Options
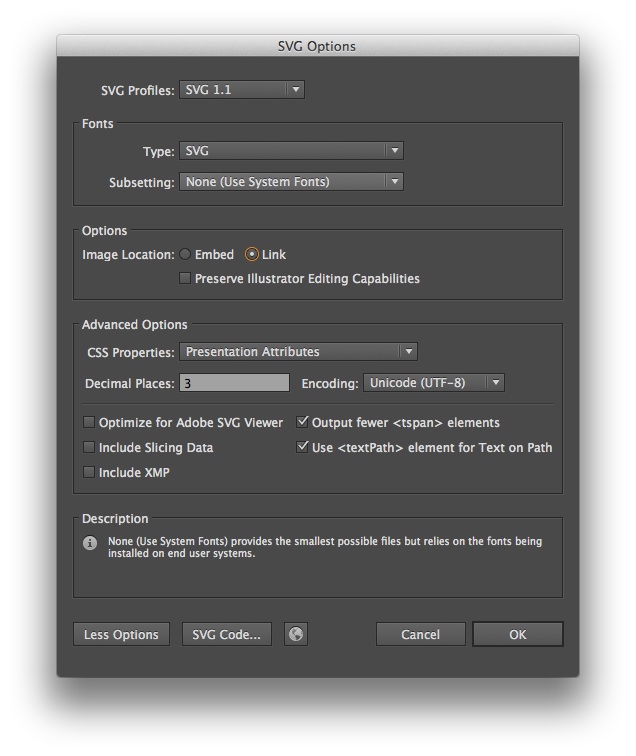
Increase the size of the text if needed, then click File > Save As. Choose “SVG” from the Format drop down and choose a name and location for your file before clicking “Save”. Some of the SVG Options settings don’t apply to our situation; let’s go over the settings we need to specify. Set “SVG Profiles” to “SVG 1.1”. In the “Fonts” box set “Type” to “SVG” and “Subsetting” to “None (Use System Fonts)”. Click the “More Options” button in the bottom left corner. In the “Advanced Options” box set “CSS Properties” to “Presentation Attributes”. Make sure to only check the boxes next to “Output fewer

Click “OK” and close Illustrator.
Step 3: Preparing the XHTML File
Launch your text editor and create a new XHTML file. Add the following code to the file:
<?xml version="1.0" encoding="utf-8"?>
<!DOCTYPE html PUBLIC "-//W3C//DTD XHTML 1.1//EN" "http://www.w3.org/TR/xhtml11/DTD/xhtml11.dtd">
<html xml:lang="en"
      xmlns="http://www.w3.org/1999/xhtml"
      xmlns:epub="http://www.idpf.org/2007/ops"
      xmlns:svg="http://www.w3.org/2000/svg"
      xmlns:xlink="http://www.w3.org/1999/xlink">

    <head>
        <title>SVG iBooks Example</title>
        <meta name="viewport" content="width=612, height=792" />
    </head>
    <body>

    </body>
</html>
Aside from the typical EPUB and XHTML namespaces, you’ll notice two new namespaces, one for “svg” and the other for “xlink”. Both of these namespaces are required for SVG. The viewport here matches the size of our original Illustrator file. If you selected different dimensions for your Illustrator file, you’ll want to change your viewport code to match the Illustrator dimensions.
Step 4: Adding the SVG Code
Add the following SVG code inside the body tag.
<svg:svg version="1.1"
                id="curvyText"
                xml:space="preserve">

            <svg:path id="path01" style="fill:none;" d=" " />
                <svg:text>
                    <svg:textPath  xlink:href="#path01" startOffset=" ">
                        <svg:tspan  font-family="' '" font-size=" ">    </svg:tspan>
                    </svg:textPath>
                </svg:text>
        </svg:svg>
Using the “svg:” namespace, we define a few different things, such as the version of SVG we are using and how to handle white space. The “id” can be anything you like.
Path Data
We’re going to copy five pieces of information from the Illustrator SVG file and place them in the same location inside the XHTML file. Open the Illustrator SVG file in your text editor. Copy the alphanumeric path data located inside the quotes next to the d=.

Paste the path data inside the quotes next to the d= in your XHTML file. The SVG path data holds the key to the curve, providing instructions for where to move to, how to create the curve, and where to end the line.
startOffset
Back in the SVG file, copy the percentage next to startOffset= and paste it inside the startOffset= quotes in your XHTML file.

The startOffset determines how far from the beginning of the line the text should begin.
font-family
Navigate back to the SVG file and copy the name of the font inside the quotes next to font-family=. Click on the XHTML file and paste the font inside the quotes next to font-family=.

font-size
Click on the SVG file again and copy the number inside the quotes next to font-size=. Click on the XHTML file and paste the size inside the quotes next to font-size=.

Text
Once more, navigate back to the SVG file. Copy the line of text that appears on the curve and paste it between the opening and closing svg:tspan tags.

Step 5: Testing
Let’s take a quick look in Safari to see how it looks. Open the XHTML file in Safari to see the curvy line.

Conclusion
Adding curvy text to your iBook can bring your text to life, adding emotion and a sense of realism to your project.