On your path to learning Android development, you’ll certainly run across a command line tool used for debugging called ADB (Android Debug Bridge). Continue reading to learn more about what you can do with this core tool common to all Android developers.
Part 0: Getting Started
This tutorial is for the Java developer just getting started learning Android, but who is familiar with Eclipse and has installed the Android SDK and Android Developer Plugin for Eclipse. Readers should also be familiar with the command-line. If you’re not yet prepared, see the previous tutorials in this series.
Step 1: Using the ADB Command
The ADB tool is launched from the command line.
At your command prompt, simply type:
adb
This runs ADB and shows a list of a bunch of commands.
If you do not see the list of commands, go back and check your installation and environment path settings, as described in previous tutorials. It could be that you have the ADB program installed, but if you don’t have your shell’s PATH environment variable configured correctly, you would need to type the full file path to ADB at the terminal to launch the program. Done? Good.
So back to that list of commands. The ADB tool serves two purposes. The first is to allow many of the other Android tools to interact with devices and emulators. The second is to allow you, the developer, to talk to devices and emulators by issuing different commands manually.
ADB commands come in two forms. One form of command you run directly from ADB. Another form of command, which isn’t directly ADB but is commonly done through ADB, is done through the “adb shell” command.
Now, before going on, have an emulator instance running or an Android device connected to your development machine. Now, if you use the ADB devices command, it should list any attached devices or emulator instances:
adb devices
You should see something like this:
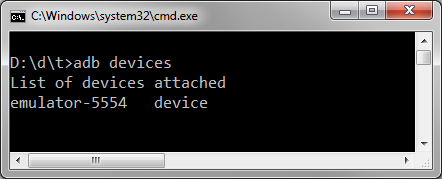
If not, make sure your emulator is running or restart the ADB server.
Step 2: Restarting the ADB Server
To restart the ADB server, here’s another command for you:
adb stop-server
adb start-server
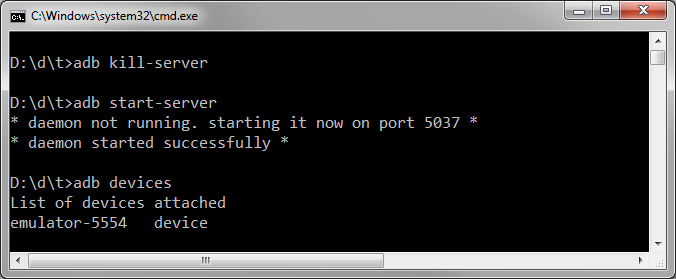
Once you’re ready to, continue on. We’ll be covering many commands, in no particular order.
Part 1: Regular Commands
Here are a variety of commands run directly via ADB. This will be followed by several commands that first require opening a shell.
Push and Pull
You can copy files to and from a connected device using the ADB push and ADB pull commands.
adb push <local source file path> <device destination file path>
adb pull <device source file path> <local destination file path>
These commands are very useful for things like refreshing preference XML files for your app during testing, and other such things.
App Installation and Removal
You can use ADB to install or remove apps (apks) from your devices. Use the install command to install an Android package file/
adb install <file path to apk>

Likewise, you can remove an existing app by its package name.
adb uninstall <package name>
You may find yourself needing to uninstall apps if you’re moving between development machines that don’t share the same app signing key. It’s also a fast way to clean up, or load up, a device without having to use Eclipse and the ADT plug-in.
Backup and Restore
You can backup and restore the contents of a device. This has limitations on devices that aren’t rooted.
adb backup
adb restore <archive name>
See ‘adb help’ for all the options of backup and restore. This could be useful for storing off app data during testing and then restoring this data easily for repeat testing.
Device Rebooting
You can reboot a device either normally, into the bootloader, or into recovery mode.
adb reboot
adb reboot recovery
adb reboot bootloader
In our experience, these aren’t appropriate for the emulator. However, there are times with Android devices get confused and need a hard reboot.
Shell Command
The ADB tool has a shell interface. To issue shell commands, you must first launch this interface by typing adb shell:
adb shell
Once run, you’ll be in a bash environment. You can run bash commands, like df to show free disk space, uptime to see how long the device has been running or exit to exit the shell interface:
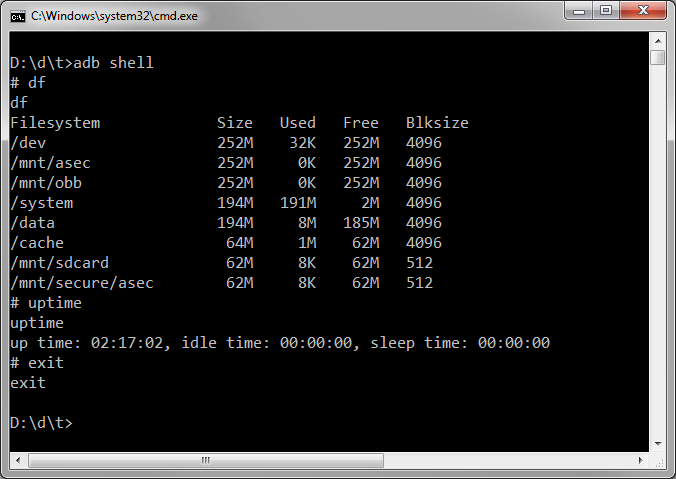
If you’re not familiar with Linux, you may have a harder time getting around in the shell. There are numerous guides online that will provide you with help for bash commands such as ls, cp, cd, and so on.
Part 2: Shell Commands
Here are several special commands you can run when in the shell. Not all ADB shell commands work on physical devices or emulators.
Logcat
You can use the logcat command to view logging output much as you do in Eclipse:
adb shell
logcat --help
logcat -t 5
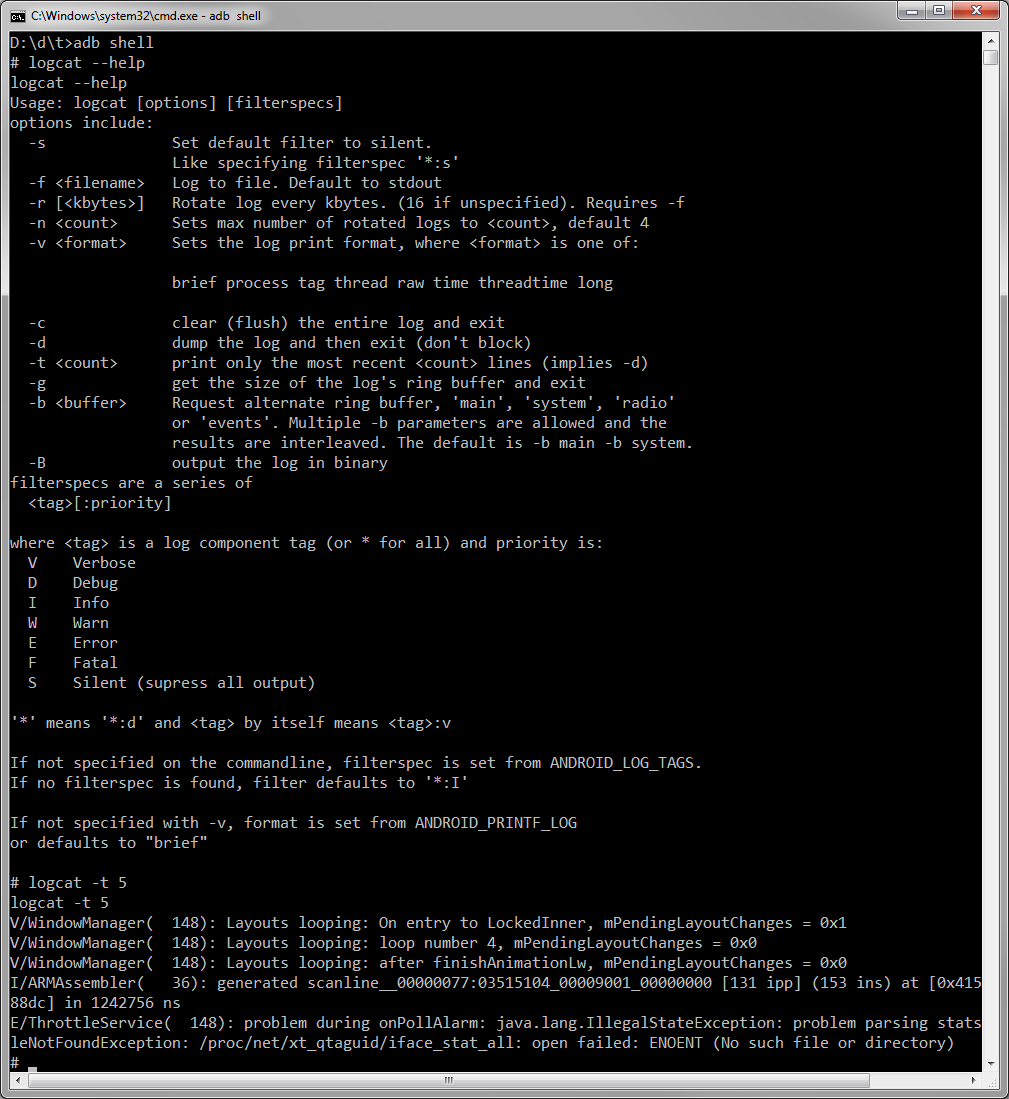
There are many options available with the logcat tool. By default, the output comes in real time, much like it does when viewed with Eclipse. One feature that’s nice is you can send the output to a file using the -f option.
Backup Manager
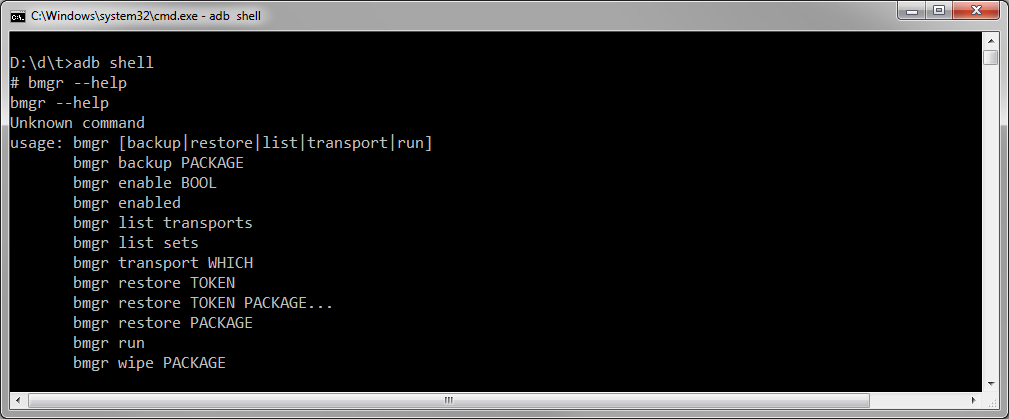
The bmgr tool is the backup manager. You can use this tool to trigger app-level data backup and restore operations. Your app must support backups for this to be useful.
Monkey Stress Tester
You can use the monkey tool to test your apps. This simulates a variety of different user input events, much like a monkey or toddler banging on a keyboard. Use this for stress testing.
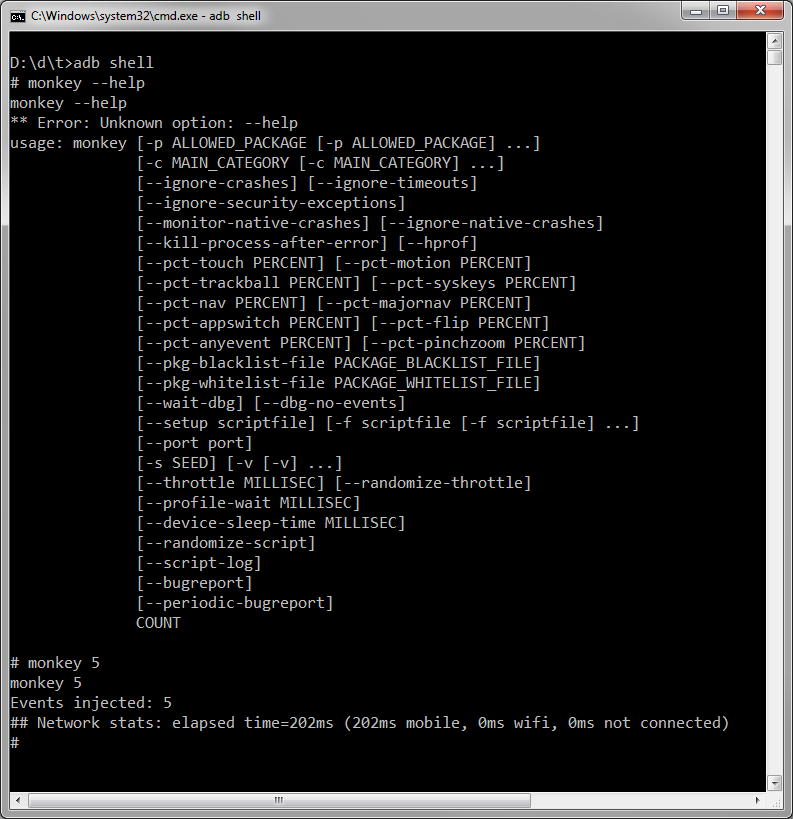
The monkey tool can be scripted, as well, and supports repeatable streams of events through the -s switch, so tests can be reviewed and repeated.
SQLite 3
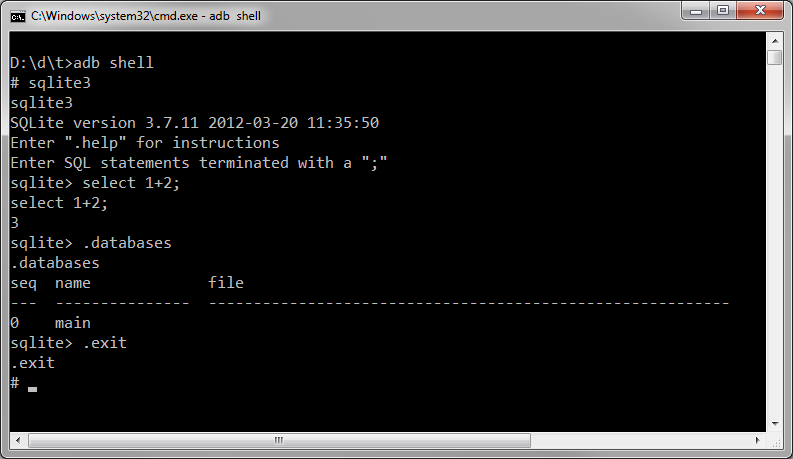
You can run sqlite commands and interact with application databases using the adb shell as well. You’ll need read/write access to the databases you’re interested in inspecting or altering (in other words, your own apps, not others).
Conclusion
You’ve seen much of what ADB can do for you. From poking around the file system to restarting devices to running sqlite commands, there’s not a lot you can’t do. There’s also much more than what we’ve covered, including managing network connections, port forwarding, debug dumps, and plenty of shell commands to keep you busy. See the official ADB documentation for an exhaustive list of features
You’re well on your way to Android development. What kinds of apps are you looking forward to creating? Let us know in the comments!
About the Authors
Mobile developers Lauren Darcey and Shane Conder have coauthored several books on Android development: an in-depth programming book entitled Android Wireless Application Development (now in it’s third edition as a two-volume set), Sams Teach Yourself Android Application Development in 24 Hours, and Learning Android Application Programming for the Kindle Fire: A Hands-On Guide to Building Your First Android Application. When not writing, they spend their time developing mobile software at their company and providing consulting services. They can be reached at via email to androidwirelessdev+mt@gmail.com, via their blog at androidbook.blogspot.com, and on Twitter @androidwireless.


